It's officially Summer which means it's officially home-improvement season! That's why I've been crazy busy around my house with projects and no time to write. The good thing is that I have plenty to share with you now!
Today I want to share my favorite exterior project we've completed so far which is the Board and Batten shutters we made. We followed this tutorial to help us get an idea of the basics, but ended up changing a few things to customize to our own windows.
What you will need for this project (makes 4 shutters):
-(6) 1"x 6"x 8' Cedar boards
- (2) 1"x 4" x 8' Cedar boards
-Wood glue
-Nail gun/ 18 gauge 1" nails
- (16) 4" long course- thread bolts
- Stain
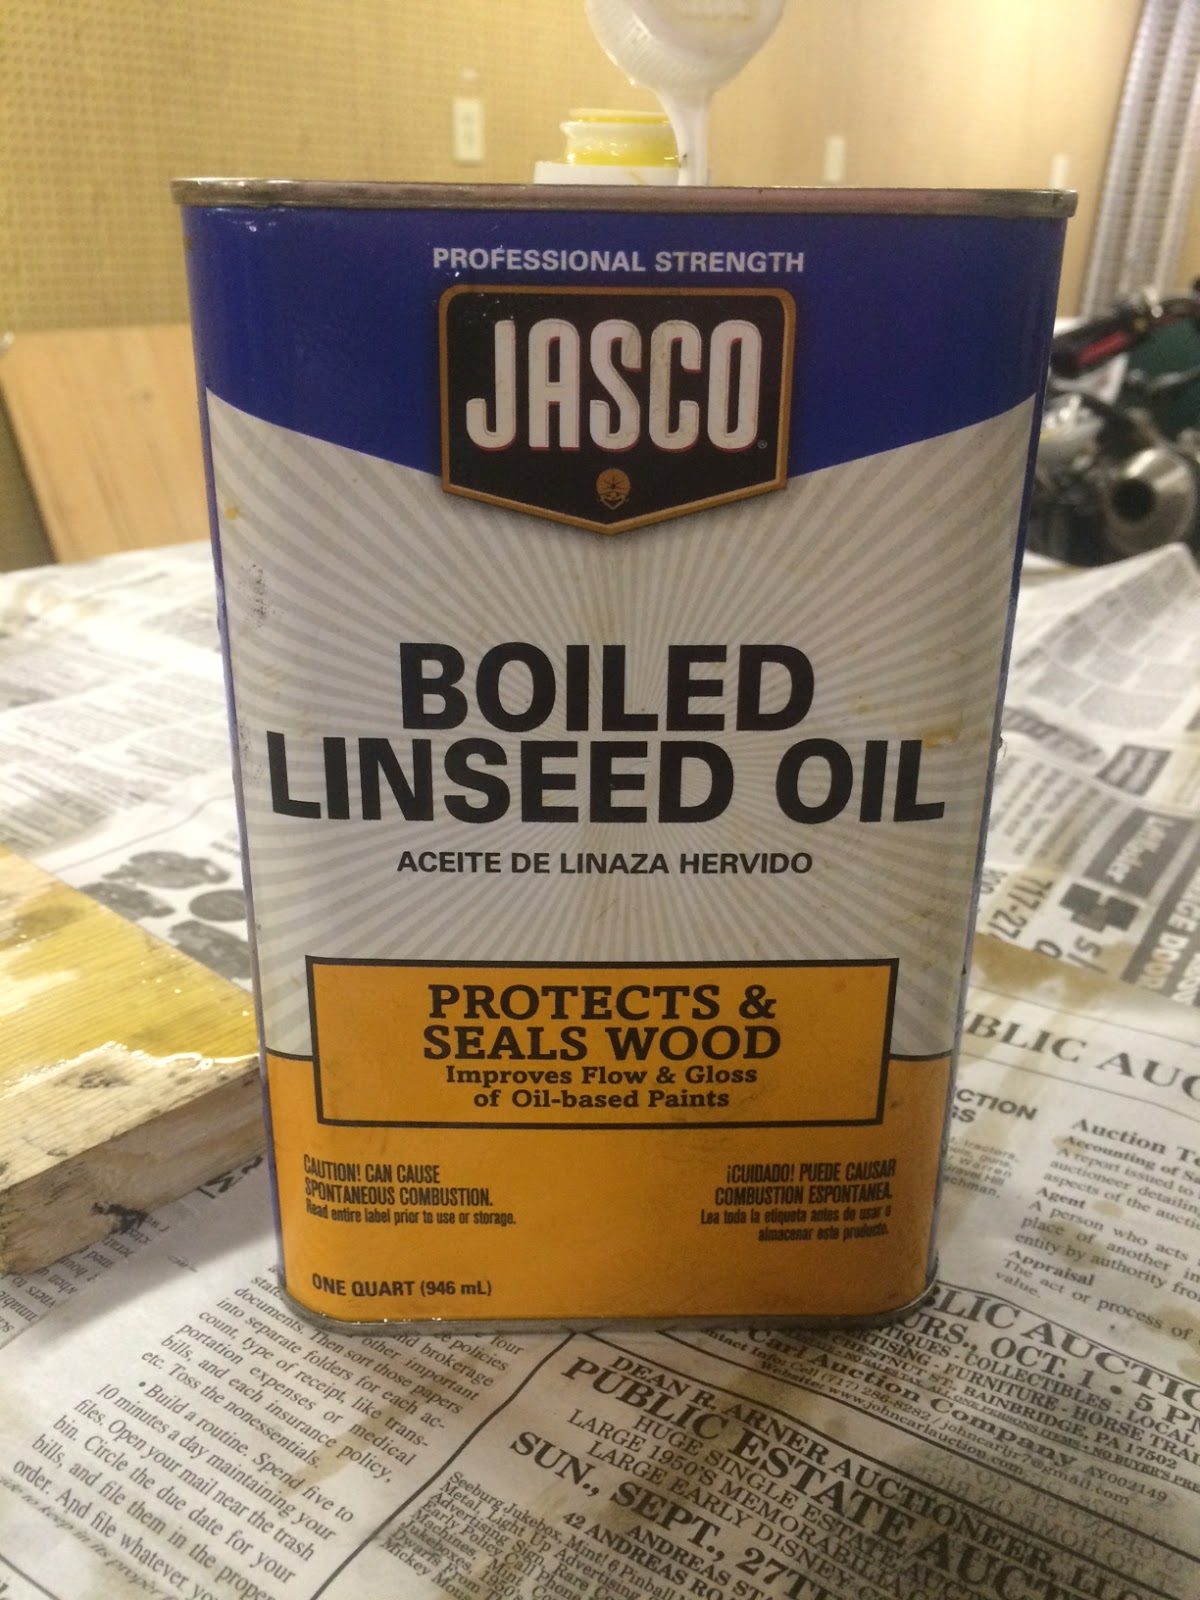
- Lindseed Oil

We started by cutting down the 1"x 6" boards to 38" pieces. This size is to fit our windows. If the length of your windows are longer or shorter, you may want to vary your size to fit. We also cut down the 1"x 4"s to the width we wanted them on the shutters. Again, this will vary on the size you want to make your shutters.


We then laid out each shutter to how we wanted them (looking at the knots and grain because I'm picky). We used paint sticks as spacers in between the boards as you can see above. You'll want to do this because the spaces in between the boards are what give Board & Batten shutters their distinct look.


Next, we glued the horizontal pieces and then nailed them into place. That's how easy it is! Now the shutters are all put together and the rest of the project is just staining and hanging them.

I originally was trying to get away with just using Lindseed Oil, which you can see in the picture above. The color was a little too yellow for me so I moved onto finding a stain. We had a lot of trouble getting the exact color we wanted so we stained some scrap pieces (below). I can't even remember how many cans of stain I tried until I found the right color! (Again, just me being picky)


8 Cans of stain later, I finally found the perfect color! I ended up using Minwax Golden Oak with another coat of Lindseed Oil on top. I recommend topping off with a coat of Lindseed Oil to seal the wood. I plan on doing this once a year to help maintain the shutters from the weather.
*** On a side note: this is also why we spent the extra money on Cedar. This is the best type of wood to use for any outdoor project because it holds up the best in the weather and will not rot out.***

Now that the shutters are finally finished, it's time to hang em' up! You can see in the picture above that we used some wood to help keep the shutter level at the height that we wanted while hanging them.

We drilled a pilot hole in each corner and then bolted the shutters directly to the siding. And done!

This project was seriously that easy! I am so happy with how these beautiful Board & Batten shutters turned out. We are getting compliments all throughout our neighborhood on how much everyone likes them. We didn't even have our first shutter hung and we already had a neighbor stop over and give us a compliment!

I promise when you make these beautiful shutters, they will add so much charm and character to your house and everyone will be stopping and staring! This is the perfect way to give your home a facelift in one weekend and for hardly any money! I hope to see more of these around! Please comment with any questions or comments and don't forget to share away! Thanks for visiting Farmhouse Flare again!
Sincerely,
{Lauren Taylor}