Jan 1, 2017

Happy New Wall!

Helloooo and Happy 2017! It's so nice to be back writing again! From the beginning of Halloween up until the new year, this holiday season was super busy. Now that the season of "hustle and bustle" is winding down, I wanted to start sharing some of my latest projects starting with my most recent; our wall makeover! 


 This was a spur of the moment project as you can tell because we decided to spend our NYE countdown working on this into the new year! I've been needing a space to act as a "mudroom" since we currently don't have our attached garage available yet. It was getting to the point that it was driving me absolutely crazy how all of our winter coats were just piled on top of our dining room chairs. I originally was just going to grab a piece of weathered pallet wood, slap a few hooks on there, hang it and call it a day... until I thought of this instead. Why not utilize my entire back wall of our family room as a decorative and  functional space? It makes sense: it's the entryway into our home, it's currently unused space, and it was a bland space that could use some attention. Decorative and functional is always a win in my book! So, if this is something you could utilize too, just keep reading! I promise it was super easy and not hard on the wallet either! 

What you'll need for this project: 

{As a reference to our project, our total dimensions measure L113.5" x H61.5" with 8' ceilings.}
-1"x6" tongue and groove boards (as the shiplap, cut to size)
- nail gun &nails
-1"x2" pine piece 
- 2 pieces of decorative trim (cut to size)
- 1"x6" pine board (cut to size)
- 1"x8" pine board (cut to size)
- corner trim (cut to size)
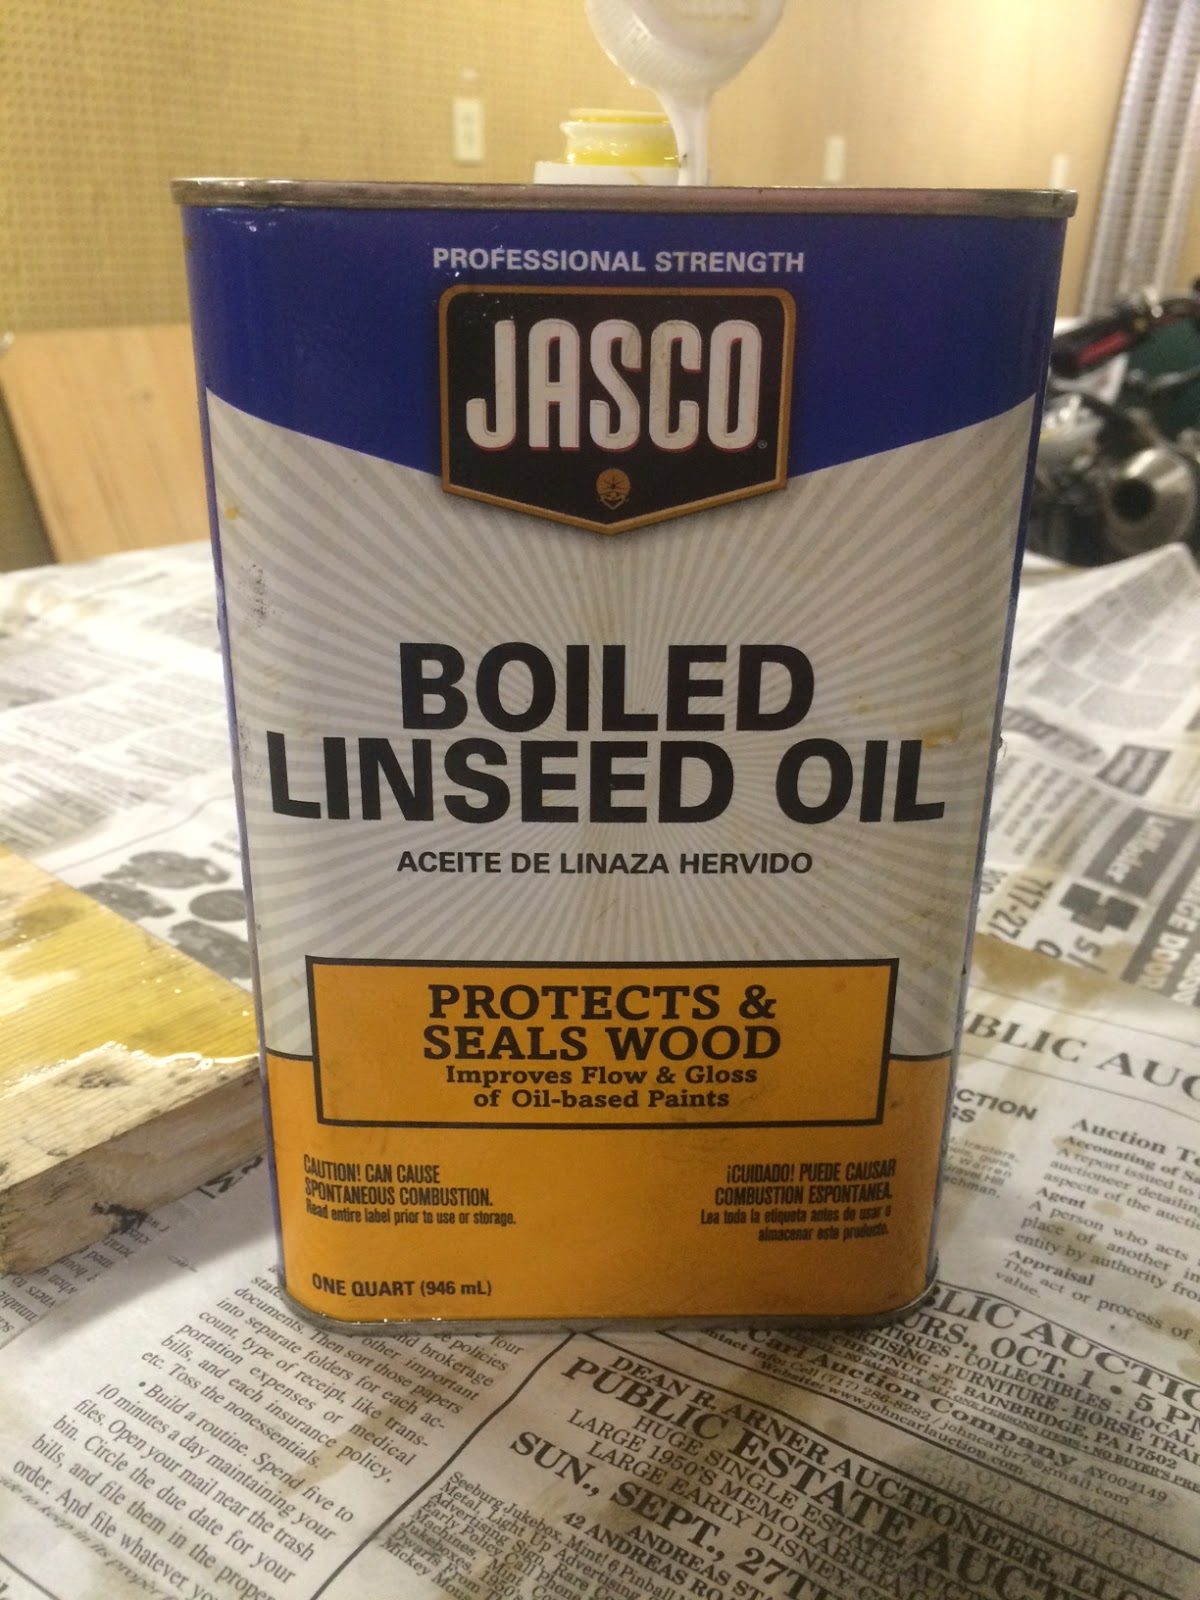
-paint
-coat hooks (5 used in this project)


In the above picture, you can see how plain the space was before. The first thing we did was place the shiplap. In our past project, we used 1/4" plywood as the shiplap, placed pennies in between the boards to create the even gap, and air nailed them onto the wall. This method was more cost efficient and turned out with more of the old original farmhouse look. If you're looking to put out a little bit of extra money but save some time, you can do what we did this time around and use tongue and groove boards. Doing the shiplap this way not only saves some time, but it gives it a little bit of a cleaner look verses rustic.


After we had all the shiplap placed, it was time to work on the shelf. The first step in this was placing a 2" piece of wood above the very top shiplap piece. You'll see why this is used in the next step.


Next, we placed the 1"x8" board across the front, being flush on the top where the shelf will lay. You can see now why the last step was needed. 


Next we placed our lower decorative trim piece. 


Now we went on to nailing and screwing in the shelf on the top, followed by placing the remaining decorative trim piece underneath. 


Once we had the shelf and the front put together, all we needed to complete was the finishing touches!
You can see below how we cleaned up the edge with a corner piece of molding to make it look seamless. 


Next, it was onto paint (we used a bright white with an eggshell finish) and finally mounting the hooks! 


We found these coat hooks at Home Depot for about $3.50 a piece. We searched at Lowe's first but unfortunately they didn't have nearly the selection as Home Depot. 


Annnd that's a wrap! Project done in less than 24 hours, completed by the end of the first day of 2017! I'm so excited how this turned out, I absolutely love it and can't stop turning around on the couch to look at it. Now, just wait for my next blog post of the bench with cubbies we're going to make to go perfectly with this space! I hope everyone had a great New Year and I wish all of you a healthy and prosperous 2017 filled with love and joy! 

Thanks for reading Farmhouse Flare today! Stay tuned for more upcoming projects of the new year! 

*Don't forget to like, comment, and share!* 


Sincerely, 

{Lauren Taylor}


Oct 16, 2016

Floating Witch Hats


 Is October finally here?! Hooray! I absolutely love this time of year! Who doesn't? The leaves are changing into beautiful colors, pumpkins are everywhere, Halloween is just around the corner, and best of all- the decorating is too much fun! Last year I had a few Halloween projects on my list but never had enough time to complete them. This year I made sure to get ahead. One project I completed so far are these floating witch hats! This was super easy, cheap, and looks spooky, especially at night! 

For this project I used: 

-4 Witch Hats 
- 4 battery tea lights (or glow sticks)
- elastic string (or fishing string)
-4 screw eyes


The first thing I did was measure how long I needed to cut my pieces of string. This can be just a rough estimate because you can adjust it at the end. Once I had the pieces cut, I tied the string around the "flame" of the candle, and then double tied a knot about halfway in the middle of the string. 


As far as the Witch hats go, I found the cheapest ones I could find. I ended up finding these at Walmart for about $2.00. They had fake hair on them, so I just cut it off. I lucked out with this step because the tags were punctured in the tip of the hat. I turned the hat inside out and threaded the string through the hole and when the knot reaches the tip it will turn the hat out again. If you aren't so lucky at this step, just use a needle to thread your string through the tip of the hat. 


Once I had the hats squared away, I figured out where on ceiling I wanted them. I spaced them out evenly, but off- off set them a little that way they weren't in a straight line. I drilled a pilot hole first, and then screwed in the eye.


I tied the hats to the eyes and done! Now when I tied them, I made them different heights. This is where I said you can adjust the length of your string at the end. 


For now I just used the battery operated tea lights because that's what I had at home. They do flicker which is nice, but to be honest, they aren't the brightest at night. You can see them just fine up close but from the street I can't even see them. As an alternative you can use those orange glow sticks with the hook and just tie the string around the hook. If you go that way, you'll have to replace them every day then. They also make LED glow sticks which is what I might use instead. These are probably the best for brightness and you can reuse them every day. 

Other than my experimenting with the lights, this turned out to be a cute project!  I already got a few compliments from friends and neighbors. I can't wait to show off my spooky witch hats during Trick-or- Treat and my Halloween party!

I hope you enjoyed this fun Fall project! Please share if you like it! Thanks for visiting Farmhouse Flare today!

Sincerely,

{Lauren Taylor}


Jul 10, 2016

Board & Batten Shutters

It's officially Summer which means it's officially home-improvement season! That's why I've been crazy busy around my house with projects and no time to write. The good thing is that I have plenty to share with you now! 

Today I want to share my favorite exterior project we've completed so far which is the Board and Batten shutters we made. We followed this tutorial to help us get an idea of the basics, but ended up changing a few things to customize to our own windows. 

What you will need for this project (makes 4 shutters):

-(6) 1"x 6"x 8' Cedar boards
- (2) 1"x 4" x 8' Cedar boards
-Wood glue
-Nail gun/ 18 gauge 1" nails
- (16) 4" long course- thread bolts
- Stain
- Lindseed Oil


We started by cutting down the 1"x 6" boards to 38" pieces. This size is to fit our windows. If the length of your windows are longer or shorter, you may want to vary your size to fit. We also cut down the 1"x 4"s to the width we wanted them on the shutters. Again, this will vary on the size you want to make your shutters.


We then laid out each shutter to how we wanted them (looking at the knots and grain because I'm picky). We used paint sticks as spacers in between the boards as you can see above.  You'll want to do this because the spaces in between the boards are what give Board & Batten shutters their distinct look.


Next, we glued the horizontal pieces and then nailed them into place. That's how easy it is! Now the shutters are all put together and the rest of the project is just staining and hanging them.


 I originally was trying to get away with just using Lindseed Oil, which you can see in the picture above. The color was a little too yellow for me so I moved onto finding a stain. We had a lot of trouble getting the exact color we wanted so we stained some scrap pieces (below). I can't even remember how many cans of stain I tried until I found the right color! (Again, just me being picky) 


8 Cans of stain later, I finally found the perfect color! I ended up using Minwax Golden Oak with another coat of Lindseed Oil on top. I recommend topping off with a coat of Lindseed Oil to seal the wood. I plan on doing this once a year to help maintain the shutters from the weather. 

*** On a side note: this is also why we spent the extra money on Cedar. This is the best type of wood to use for any outdoor project because it holds up the best in the weather and will not rot out.***


Now that the shutters are finally finished, it's time to hang em' up! You can see in the picture above that we used some wood to help keep the shutter level at the height that we wanted while hanging them. 


We drilled a pilot hole in each corner and then bolted the shutters directly to the siding. And done! 


This project was seriously that easy! I am so happy with how these beautiful Board & Batten shutters turned out. We are getting compliments all throughout our neighborhood on how much everyone likes them. We didn't even have our first shutter hung and we already had a neighbor stop over and give us a compliment! 


I promise when you make these beautiful shutters, they will add so much charm and character to your house and everyone will be stopping and staring! This is the perfect way to give your home a facelift in one weekend and for hardly any money! I hope to see more of these around! Please comment with any questions or comments and don't forget to share away! Thanks for visiting Farmhouse Flare again!


Sincerely,

{Lauren Taylor}


May 13, 2016

Shabby- Chic Chandelier!

Well hello again! On this rainy day I figured I finally had some time to sit down and write about something I've been dying to share! I know a few of my friends have been waiting on this post too. This has to be my favorite project we've completed so far at our new house and we did this about a year ago. I love how it turned out and the best part of all- it was practically FREE! Yes I scored big on this one! 

This is a tutorial on how I re-purposed an old chandelier into a beautiful new focal point for our dining room! If you are in need of a new light fixture but don't have the money to spend on one, consider re-purposing an old one! Don't know where to start? Keep reading and I'll tell you more!


Alright, so the reason this was free is because it came from our neighbors house. Our new neighbors were just moving in and one morning on my way to work I saw this chandelier sitting out on the street for trash. Of course I stop and throw it in my trunk! We had just recently moved into our house at the time and we didn't have a working dining room light. I didn't want anything shiny, sparkly, or blingy- I wanted rustic and simple. At that time Lowe's and Home Depot didn't have a good selection of what I was looking for. I was at the point of dropping $600-$700 on a chandelier I wanted from Joanna Gaines'  Magnolia Market. But when I saw this one sitting on the street, I knew it was just what I was looking for. I wasn't sure if it was going to work or not but I figured hey, for being free it was worth a shot! All it needed was a little sprucing up. 


Once I got it cleaned off the first thing I did was sand it all down. I wanted to get away from that dark brown so I used a rough grit sand paper first and then went over the entire thing again with a fine grit to smooth it out. I actually was happy how it looked after sanding it (above) but I still decided to paint it because I wanted it to look more distressed. 


After I had it all sanded down, I used this Americana paint in a CHALK FINISH that you can see in the picture above. I painted  2 or 3 coats on with a sponge brush until everything was covered evenly. If your trying to get that farmhouse look you want to make sure to get a chalk paint like this! You can get this at Lowes or Home Depot at the paint counter. For this project I used the beige/tan color and I love how it turned out with the brown underneath! I only ended up using about 1/2 of the container, if that, so 1 container would be plenty for a small project like this. I believe I spent about $4 on this paint at Home Depot. 

After my last coat of paint was dry, I sanded down the fixture again. I used my rough grit first around all the edges and anywhere where I wanted it to look worn. I then used my fine grit to smooth everything out and create some smaller scratches. This part is a personal preference and the great thing about this is- if you feel that you sanded too much, you can always apply more paint! I did this several times. I would sand a spot then paint it again if I didn't like it. I went back and forth until I was happy with it.


Once I had my chandelier looking pretty, it was time for the hard part. This is what we had to work with (in the picture shown above). Neither Cody or I have much knowledge about electric and at this point we were still taking a gamble as to if the light even worked! Since all I picked up off the street was the Chandelier itself, we had to purchase a ceiling light mount at Lowes. You can find the exact one we got here, except we got ours in a bronze finish. It took us a few hours between taking the old fixture down and figuring out how to install the new chandelier. We finally got it all hooked up and it was time to see if our new masterpiece worked or not. I crossed my fingers to PLEASE TURN ON.


And wala! I was SO incredibly happy that this project had turned out! I still can't believe that our stunning new dining room chandelier came off the rainy wet street from our neighbors house! We spent about $10 and maybe 6 hours total to put into this project, and it was so EASY. 

 Not to brag, but I really think this could pass for something JoJo would have on her Magnolia line anyway. So I just saved myself hundreds of dollars on a light fixture, and I got to make it myself! 


This is such an easy way to save you a ton of money on a light! Shop around at flea markets, ask friends, family, and neighbors, check on your local yard sale Facebook pages, or you could go look through people's trash like I did! Hahah. This project turned out 100x better than what I originally thought it would. Just this light fixture has added a huge statement to our home. It's the first thing you see when you walk in our front door and we constantly get compliments on it! 

I hope I can help you save money like I did. All this project takes is a little time looking around for the right piece in the beginning. I gave you all the steps I used to turn something OLD into something NEW. I hope you can put this to use in your home too! Let me know if you use this tutorial and how your project turns out! I would love to hear comments and suggestions below. Thanks for reading some Farmhouse Flare today! Talk to you soon. 

Sincerely, 

{Lauren Taylor}


Mar 25, 2016

Tin Can Wall Planter


Hello hello, and HAPPY SPRING! Oh I am so glad we are hopping into spring and soon onto sunshine and summertime! I have been itching to get back on here and write about several things that I've been wanting to share, but have been too busy to even think about it! Between working my two jobs, family events, St. Patrick's day, and traveling between Pittsburgh and Philly every weekend for the past month I am just worn out. Finally I have a day at home by myself to just breath, slow down, and catch up on some things. So finally I have an opportunity to share with you my latest project! 

For this project you will need:

4 Small Tin/ Galvanized Cans 
Wood Board about 26 1/4" x 5 1/4" 
4 screws
2 picture mounting brackets

Total time: 1 hour


While I was out in Pittsburgh visiting family for the weekend, I came across several antique shops (duh, I couldn't just drive by) and decided to look around. I found these old numbered tin cans and loved them! I knew I would put them to use for something. I've been wanting to start an herb garden so that's the first thing I thought of. Later into the project I decided that I was instead going to use this just as wall decor with a few flower stems for our bedroom. It would've been great if I could've used our home address but our numbers weren't available so I just picked four of the best looking cans. 

 When I got home I scavenged up a piece of pallet wood, spaced out my cans where I wanted them and Cody trimmed my board to size. (Yes our garage is currently torn apart into a Motorcycle shop, so we are trimming on top of the mustang)


Once that was finished we were figuring out how to securely attach the cans to the board. Since I had changed my mind from using this as an herb garden to just wall decor for our bedroom, I knew it didn't have to hold anything heavy. In this case we just drilled a hole center in the back of each can and screwed the cans into the board. Attaching them this way will most likely not support anything heavy so if you are going to use this as an herb garden, you will probably want to support the cans with a metal brace and screws or something similar. You can see below how we attached ours.


Once we had the tin cans attached to the pallet wood, all we did was screw two little mounting brackets on the back of the board so we could hang it.


We hung it in our bedroom and dressed it up with some flowers and that was it! In about an hour we had ourselves a fun new piece of wall decor! 


To save you a little time and money on this project, you don't have to go out trying to find real "antique" cans. I just happened to luck out and find these beauties! Instead, go to your local craft store, dollar store, Walmart, Target, etc. and find some cheap galvanized cans. Spray paint some numbers with a stencil and if you want to make them look a little distressed, rub them with some grease or stain take some steel wool to the can to scratch it up a little and fade the numbers. 

This project would work great as an herb garden (attached more securely), to use in an office to hold supplies like pens, pencils, scissors, etc., or dress it up like I did and use it to make a statement in a room as a piece of wall decor! Be creative and use it as you need it! 

I hope I gave you a piece of inspiration today and I hope many of you will put together this simple project at home! It hardly took any time at all! Share with me any comments or questions below and feel free to share what you used this for in your home! Thanks for visiting Farmhouse Flare today! Have a HAPPY EASTER everyone! 

Sincerely,
Lauren Taylor